파란색가운의 개발 블로그
[Spring Boot] 스프링부트 Static Files / 프론트엔드(JS)와 사진은 어떻게 통신해야 할까? 본문
[Spring Boot] 스프링부트 Static Files / 프론트엔드(JS)와 사진은 어떻게 통신해야 할까?
파란색 가운 2024. 7. 13. 02:09안녕하세요 !
제가 커뮤니티 만들기 프로젝트를 하면서 가장 오래 애먹었던 2가지 문제에 대해서 포스팅해보려고 합니다.
1. 회원가입시 사진 선택 후 가입 -> 이 파일을 어떻게 백엔드에서 관리하지?
2. 백엔드에 파일이 들어왔는데, 이 파일을 프론트엔드에서 어떻게 Load해올 수 있을까?
에 대해서 포스팅하려고 합니다.
사실 이 이슈때문에 3일간 기분이 너무너무너무 좋지 않았어요 진지하게 전문직 시험 검색해보고 다녔음 ㅋㅋ
그래도 전 지지 않았습니다

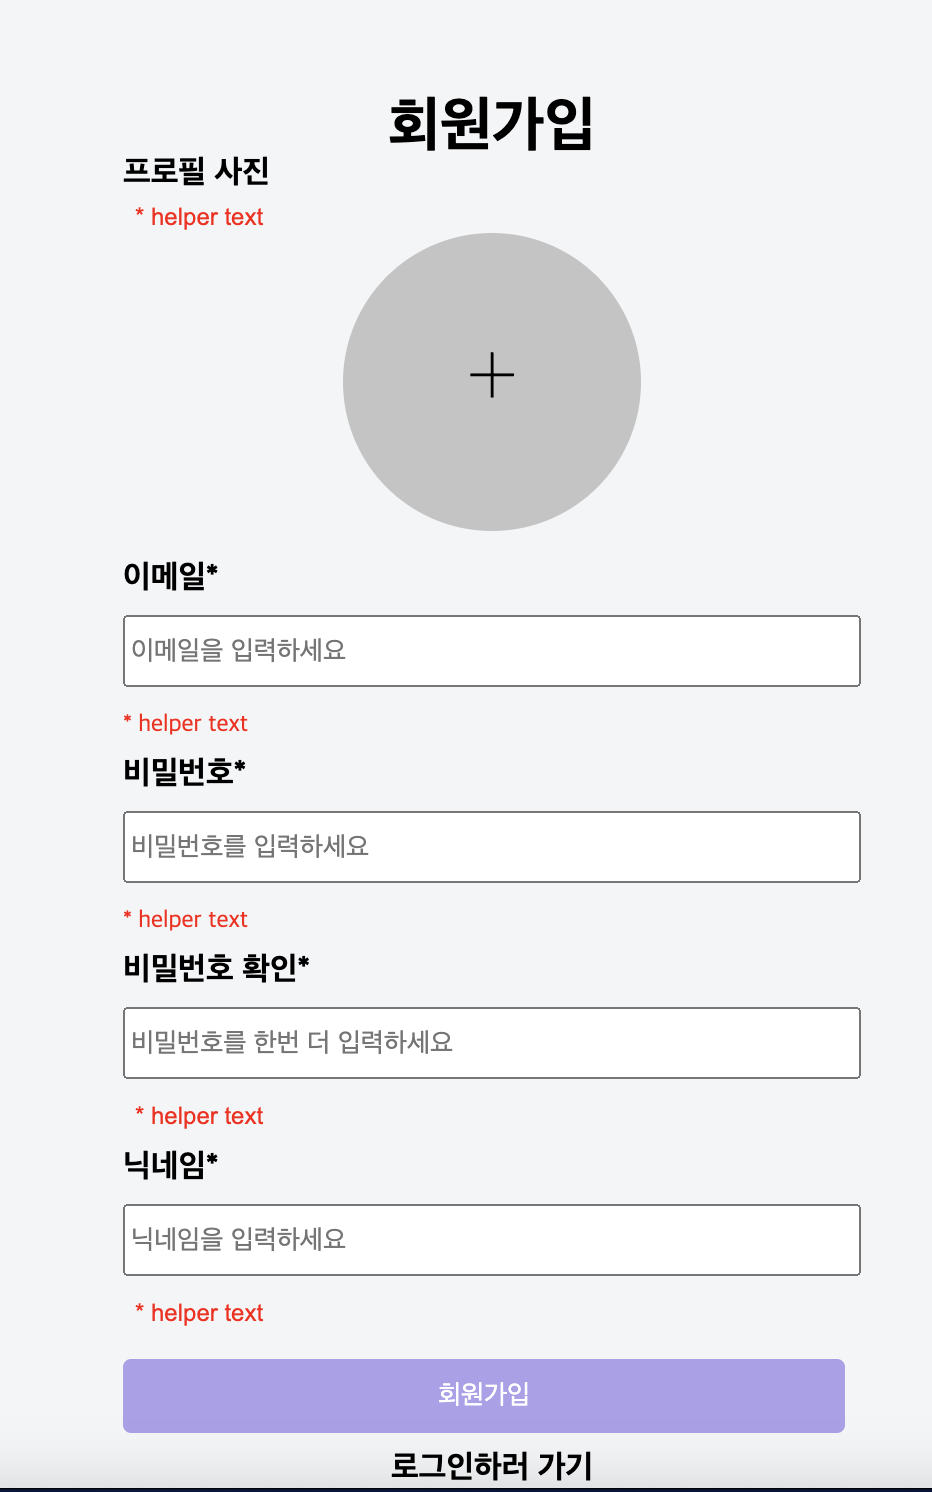
제가 만들어둔 전형적인 회원가입 창입니다.
let submit = document.querySelector(".join");
submit.addEventListener("click", function (event) {
  event.preventDefault();
  if (changeJoinButton(emailCheck, pwCheck, pwCheck2, nickNameCheck)) {
    const f = document.querySelector('.join-form'); // 이거로 form 가져오고
      // // 이거로 바꾸니까 됐다 유후 ~
      const fileInput2 = document.getElementById('fileupload');
      const formData = new FormData(f);

      // formData.append('image', fileInput2.files[0]);


      for (const pair of formData.entries()) {
        console.log(pair[0] + ': ' + pair[1]);
      }

      const data = Object.fromEntries(formData);
    fetch("http://localhost:3000/join", {
      method: "POST",
      credentials: 'include',
      body: formData
        })
      .then((data) => {
        console.log("서버 응답:", data);
      });

      /*setTimeout(function () {
        window.location.href = "login"; // 일정 시간 후에 페이지 이동
      }, 2000);*/

  }
});
fetch를 통해 formData를 통째로 보내줍니다.
이렇게 되면 formData 안에는 userId , pw, nickname, file 이렇게 4개의 항목이 전달되겠네요.
<input name = 'userId' id = 'userId' type = 'text' placeholder = "이메일을 입력하세요" style = "width: 361px; height:30px;"/><br>
스프링부트에서 매칭시킬 때는 name을 기준으로 맵핑됩니다.
1. UserController
@PostMapping("/join") // 여기서부터 다시하기
    public ResponseEntity<String> join(@RequestParam("userId") String userId,
                                       @RequestParam("password") String password,
                                       @RequestParam("nickname") String nickname,
                                       @RequestParam("image") MultipartFile image){


        if (!image.isEmpty()) {


            userService.registerUserWithImage(userId,password,nickname,image);
        }
        else{
            return ResponseEntity.status(500).body("Failed to upload image.");
        }

        return ResponseEntity.ok("Successfully Joined!");

    }
각 함수 인자로 RequestParam("HTML에서 지정한 name") 으로 각각 값을 받아줍니다.
특징으로는 image는 MultipartFile 형식으로 받아야 파일으로 받을 수 있습니다.
2. userService
public ResponseEntity<String> registerUserWithImage(String userId, String password, String nickname, MultipartFile photo) {
        User user = new User();


            String fileName = photo.getOriginalFilename();
            File dest = new File(uploadDir + fileName);
fileName -> 파일만의 이름을 가져와줍니다.
File 형식의 dest 변수를 만들어 줄때 , File의 인자로 파일이 저장될 절대 경로를 지정해줍니다.
private String uploadDir ="/Users/sunghyun/Desktop/kcs-assignment/src/main/resources/static/images/";

이제부터 저 경로로 프론트엔드에서 넘겨주는 파일들을 저장하려고 합니다.
try {
                String filePath = uploadDir + '/' + photo.getOriginalFilename();
                Files.write(Paths.get(filePath), photo.getBytes());
                photo.transferTo(dest);
                user.setUserId(userId);
                user.setPassword(password);
                user.setNickname(nickname);
                String filePath2 = "images/" + photo.getOriginalFilename();
                user.setImage(filePath);


                userRepository.save(user);

                return ResponseEntity.ok(filePath2);
            } catch (IOException e) {
                e.printStackTrace();
            }
Files.write는 위에서 지정해준 절대경로로 들어가면서 , 사진을 저장해주는 역할을 합니다
String filePath2의 경우에는, 회원가입시 DB에 매핑될 주소를 뜻합니다
http://localhost:3000/images/{사진 오리지널 이름} 이렇게 매핑을 해줘야하기 때문에, filePath2는 프론트엔드에 돌려줄 경로입니다.
userRepository.save를 통해 DB에 저장하고, return ResponseEntity.ok(filePath2)를 통해
images/{사진 오리지널 이름} 를 저장합니다.
이 과정들을 끝내면

IMAGE의 경로가 들어온 것을 알 수 있습니다.
2. 동그라미 36px * 36px 부분에 회원 본인의 사진을 썸네일로 불러오는 기능 구현

저기서부터 인내심이 살짝 떨어졌어요.. 다 된 것 같은데 왜 안되지? 하면서 했습니다
1. Frontend쪽 fetch 코드
fetch("http://localhost:3000/profileImage", {
  method: "GET",
  headers: {
    "Content-Type": "application/json",
  },
  credentials: 'include'
  })
  .then(response => response.json()) // 응답을
  .then((data) => {
    const img = document.querySelector('.image');
    console.log(data.image);
    console.log(data);
    img.src = `http://localhost:3000/${data.image}`;

  })
2. userController
@GetMapping("/profileImage")
    public User profileImage(HttpSession session){
        String userId = (String)session.getAttribute("userId");
        return userService.findByUserId(userId);
    }
저는 세션의 userId를 통해서 현재 로그인된 사용자를 식별하는 방법을 사용했기 때문에, userId를 통해 사용자의 정보를 찾습니다.
3. userService
@Transactional
    public User findByUserId(String userId) {
        return userRepository.findByUserId(userId);
    } // 여기에서 존재한다면 ->
4. userRepository
package hello.kcs_assignment.repository;
import hello.kcs_assignment.model.User;
import org.springframework.data.jpa.repository.JpaRepository;
public interface UserRepository extends JpaRepository<User, String> {
    User findByUserId(String userId);
}
이를 통해 매핑되는 행을 찾아서, data.image에는 images/{사진 오리지널 이름} 가 반환됩니다.
백엔드 포트번호가 3000번이므로,
img.src = `http://localhost:3000/${data.image}`;
이렇게 img의 링크를 직접 매핑해주게 되면 !

드디어 기능 구현 성공했습니다,,
3일동안 한 내가 너무 바보같기도 하지만
해낸거에 의의를 두려고 합니다 ㅎㅎ
'인프런 실습 모음 > Spring Boot' 카테고리의 다른 글
| Spring Boot 개념정리 (0) | 2024.06.22 |
|---|
